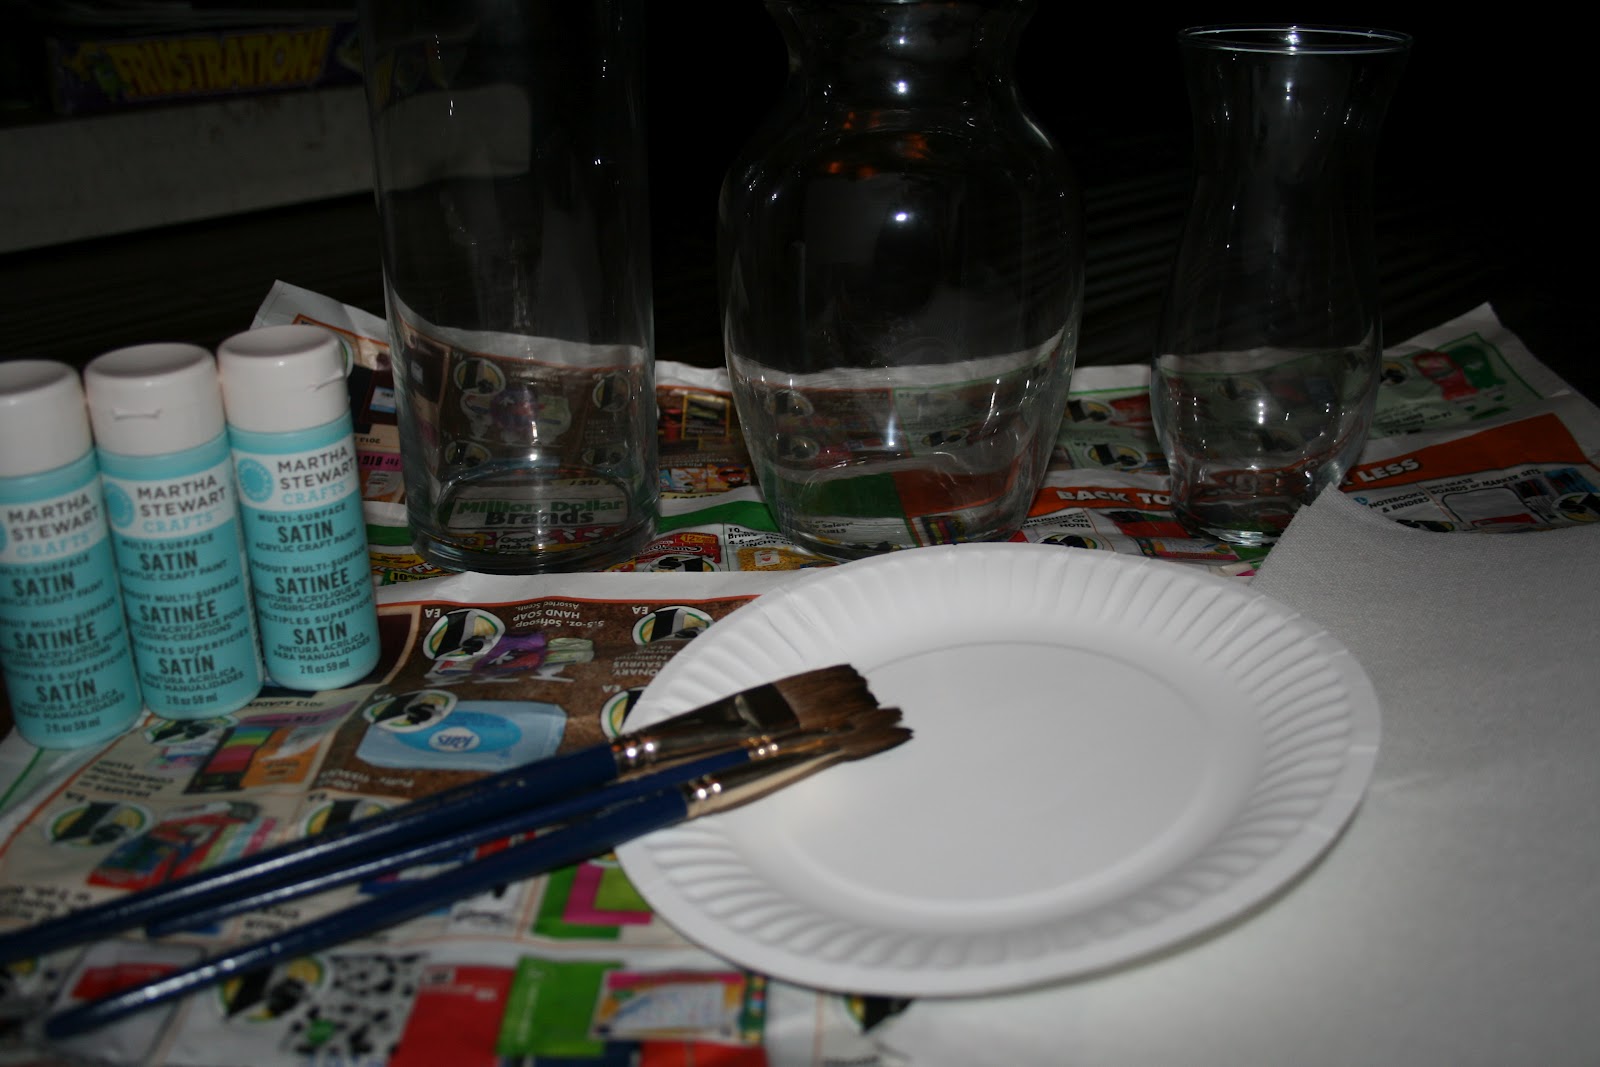
Wednesday, September 5, 2012

DIY Reminder Board

Finished product:


WHAT YOU'LL NEED:
 1. Corks.  Now these aren't normal wine corks.  I used Craft Designer Cork Collection from Jo-Ann that had multi- sized corks (found in the craft isle) and Darice Cork Collection 30 pc that also had multi- sized corks from Michael's.

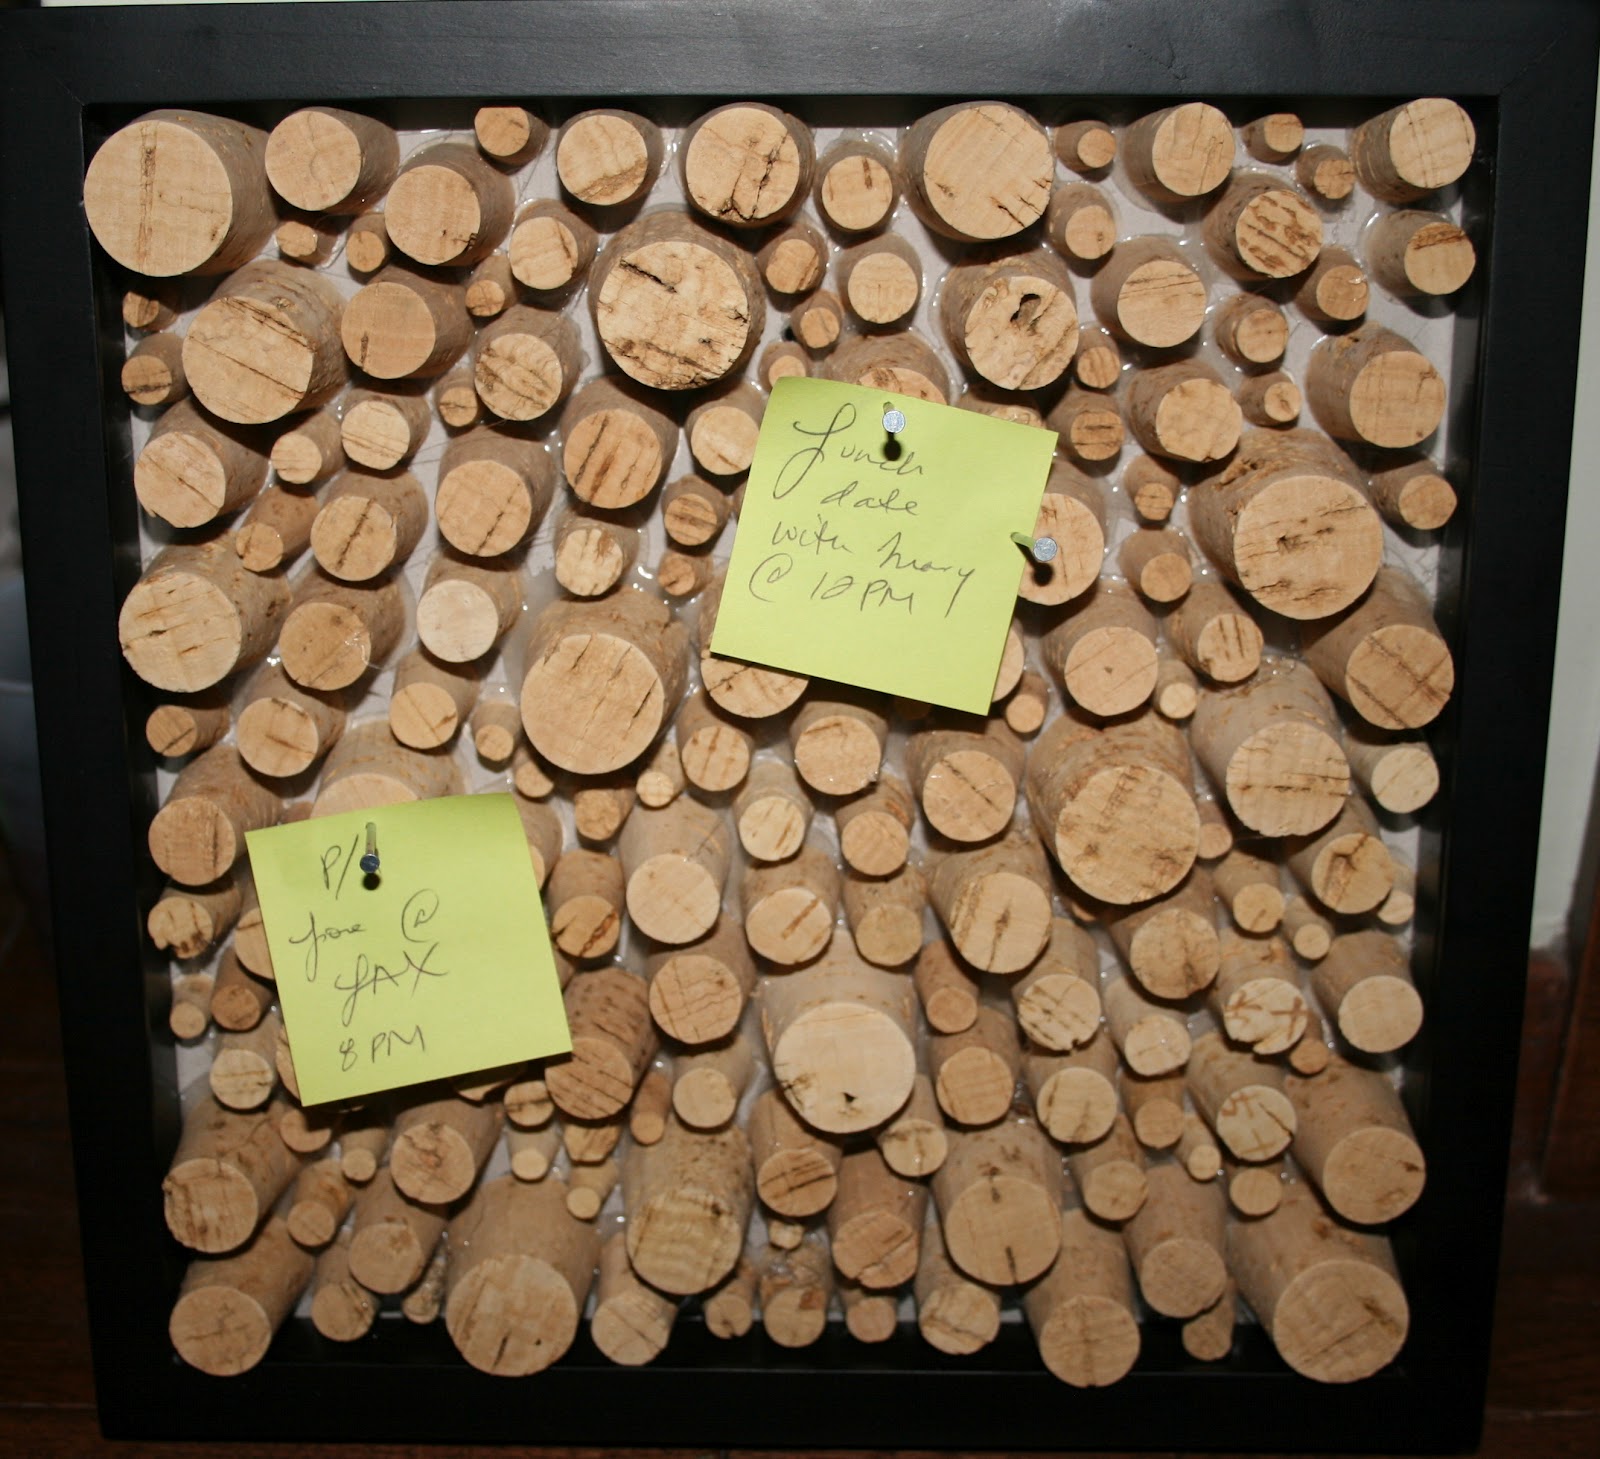
2. Shadow Box.  If you go now, Michael's is offering 40% off their entire stock!  I personally got mine at Jo-Ann.  I made sure that the tallest corks would just slightly be sticking out of the shadow box.  I stuck with a black frame to match my DIY Dry Erase Calendar.  
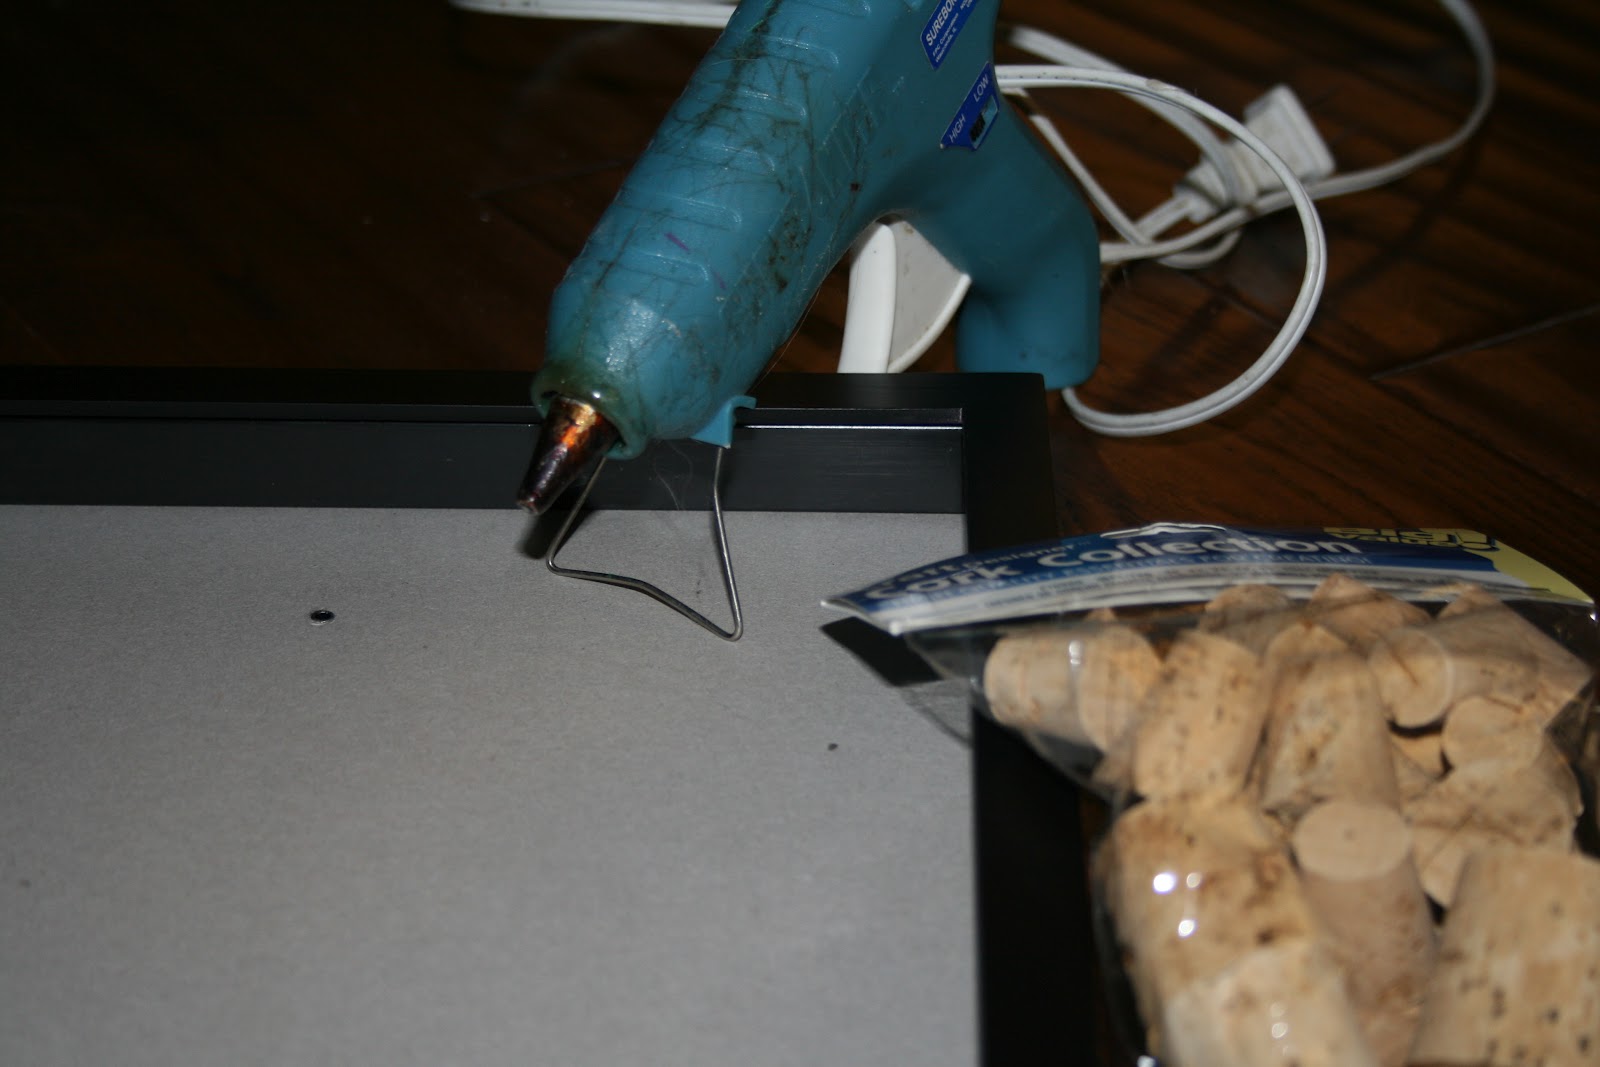
3. Hot glue gun.


  STEP I 
Open all of your cork bags and lay out the corks. I found it was helpful to have them not separated into size so that the board didn't look like one big reoccurring pattern.
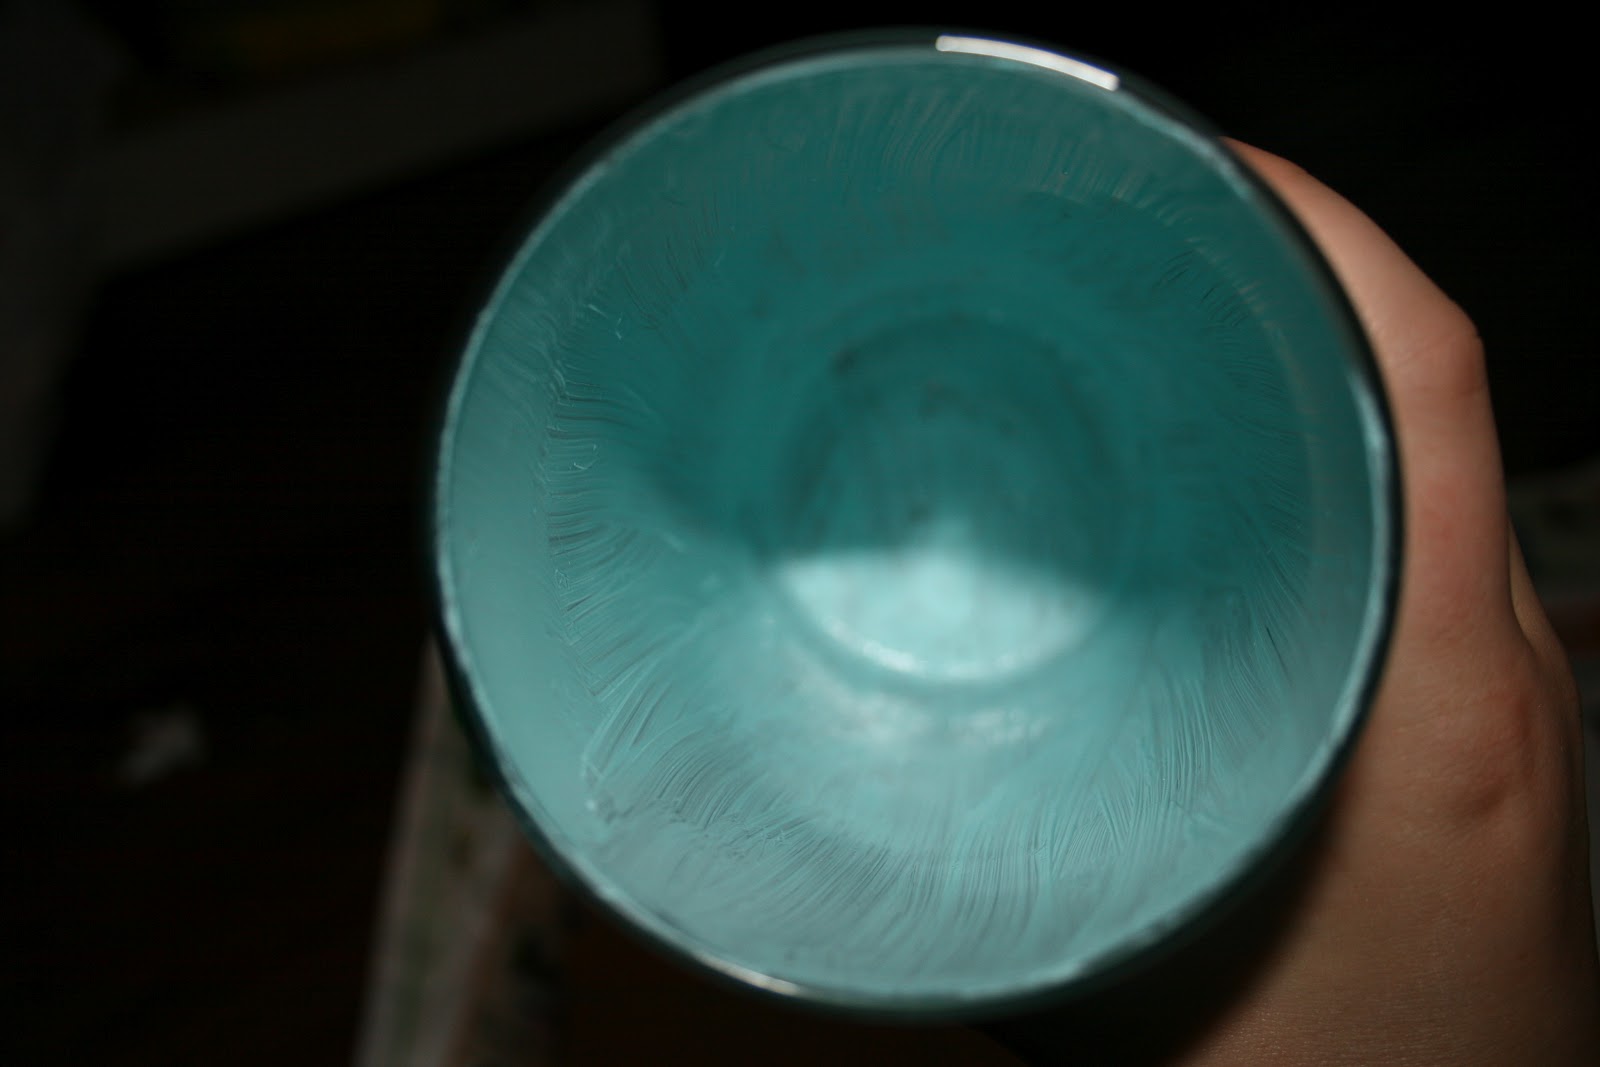
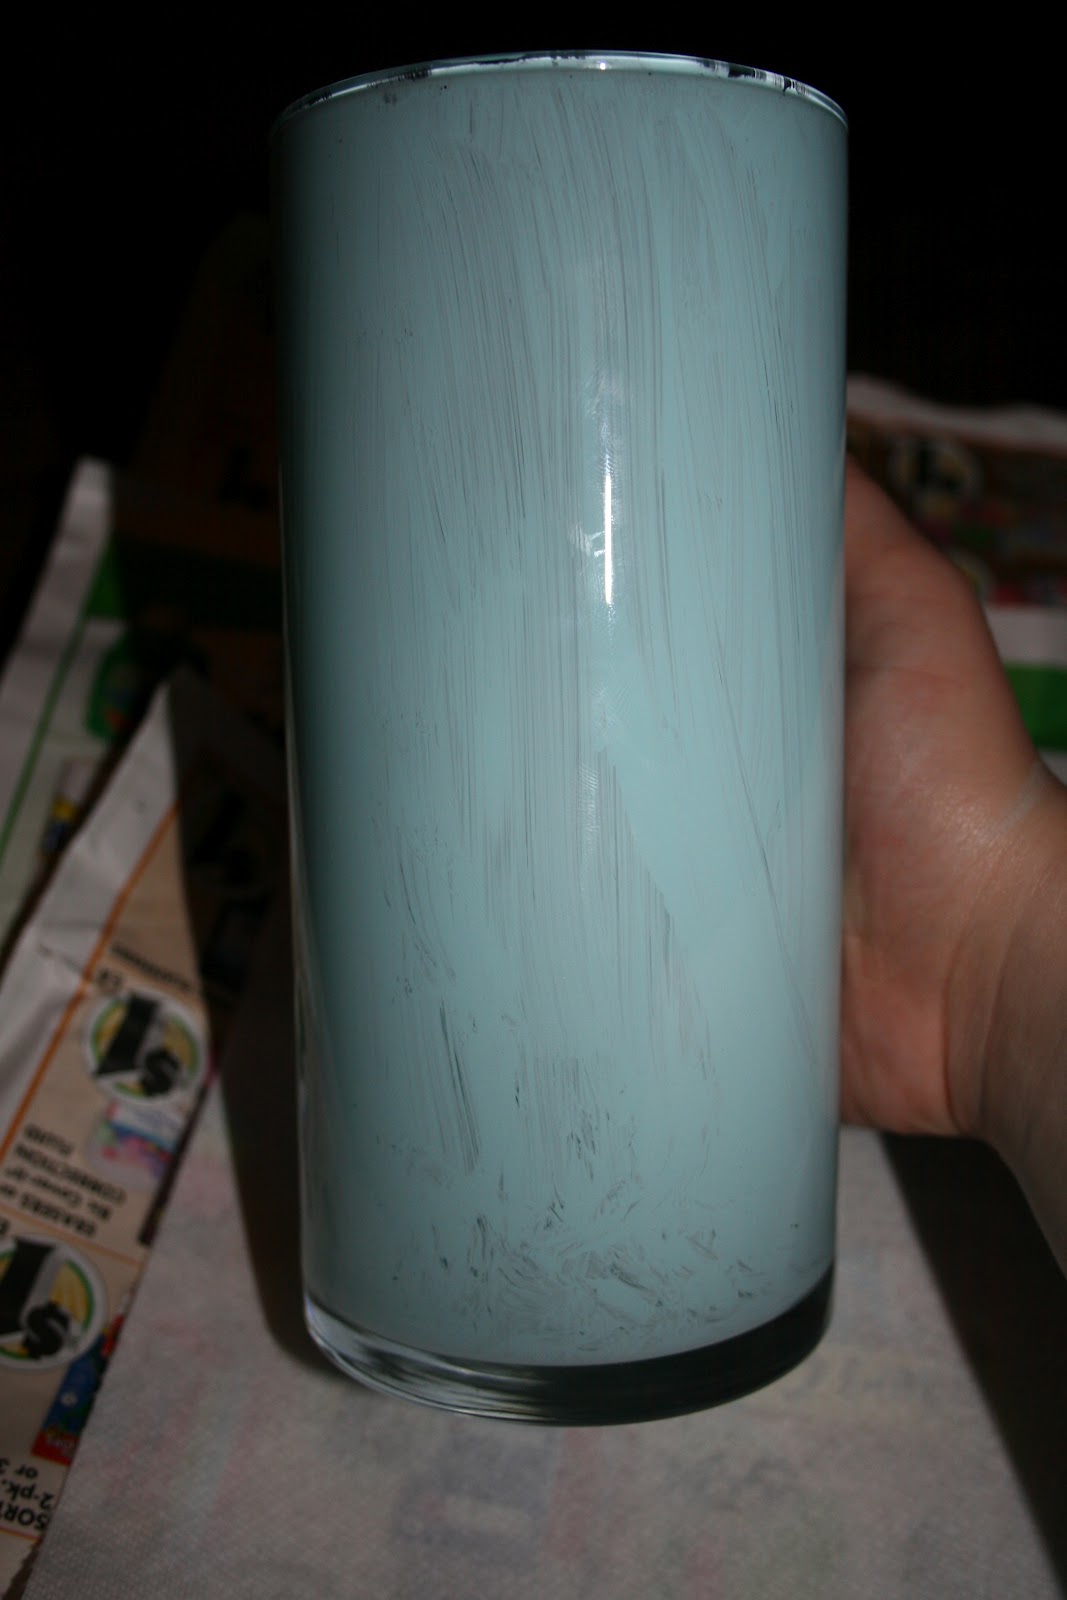
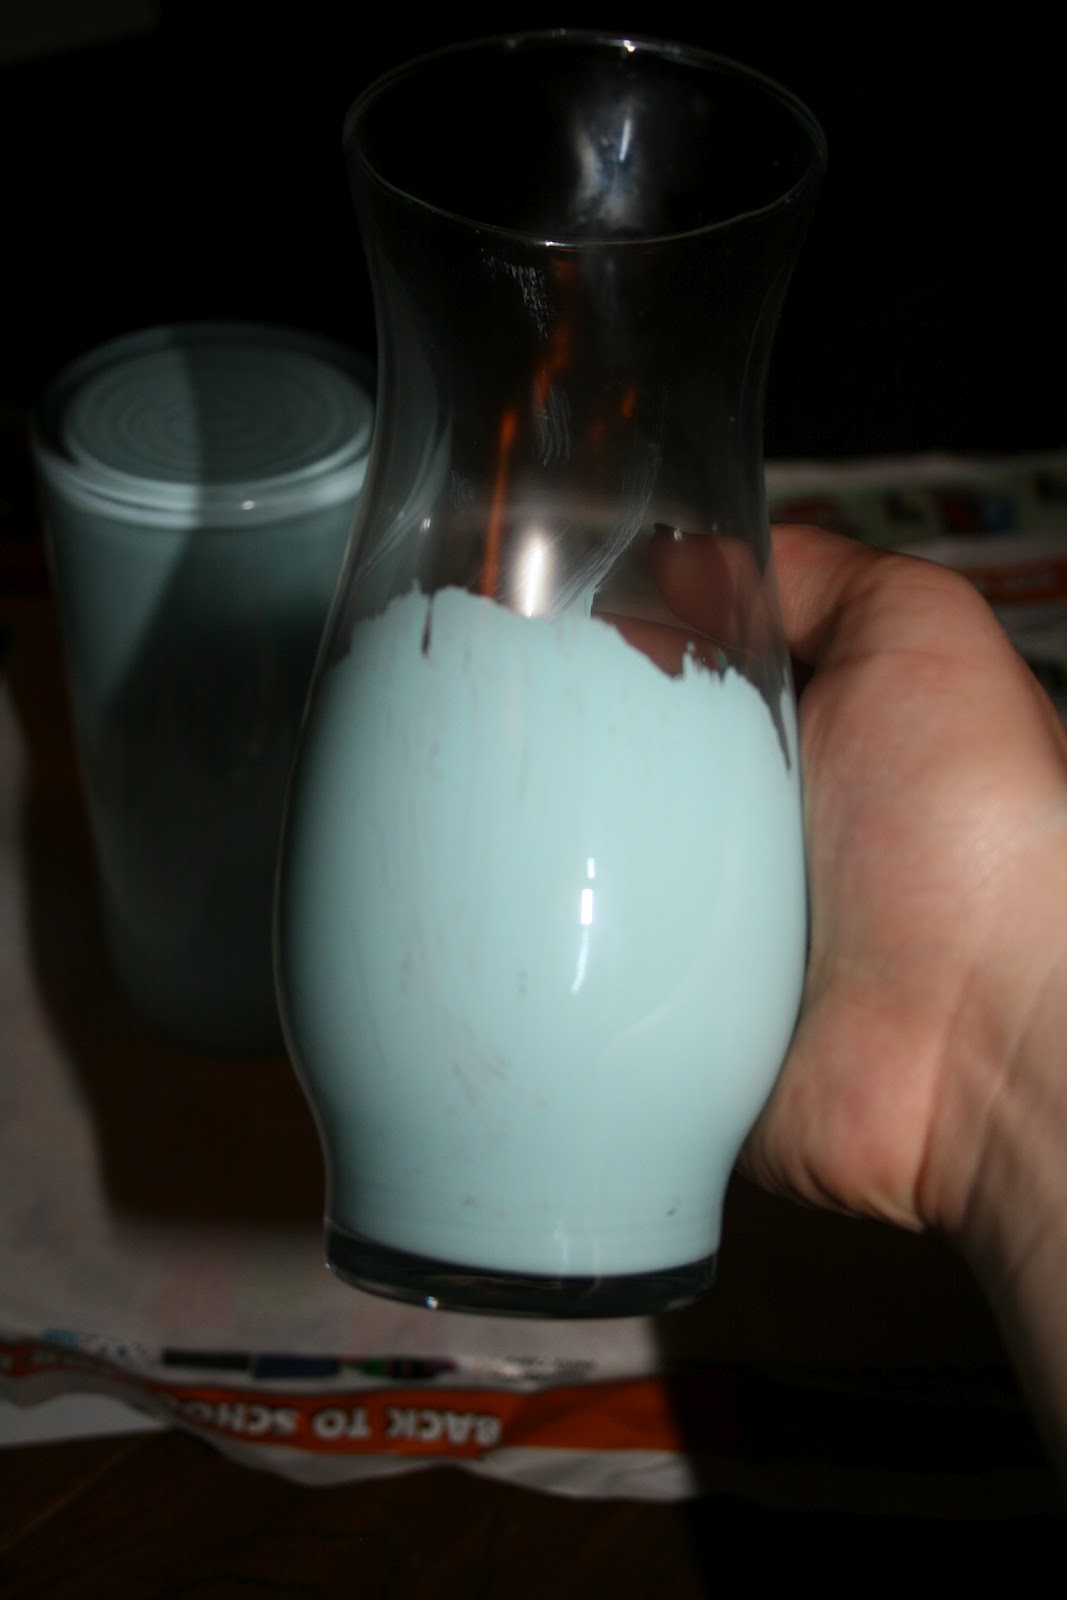
  STEP II 
Start gluing! Like I said, it'll look better if the board isn't a pattern so try not to think about the sizes so much as where things fit in between others.


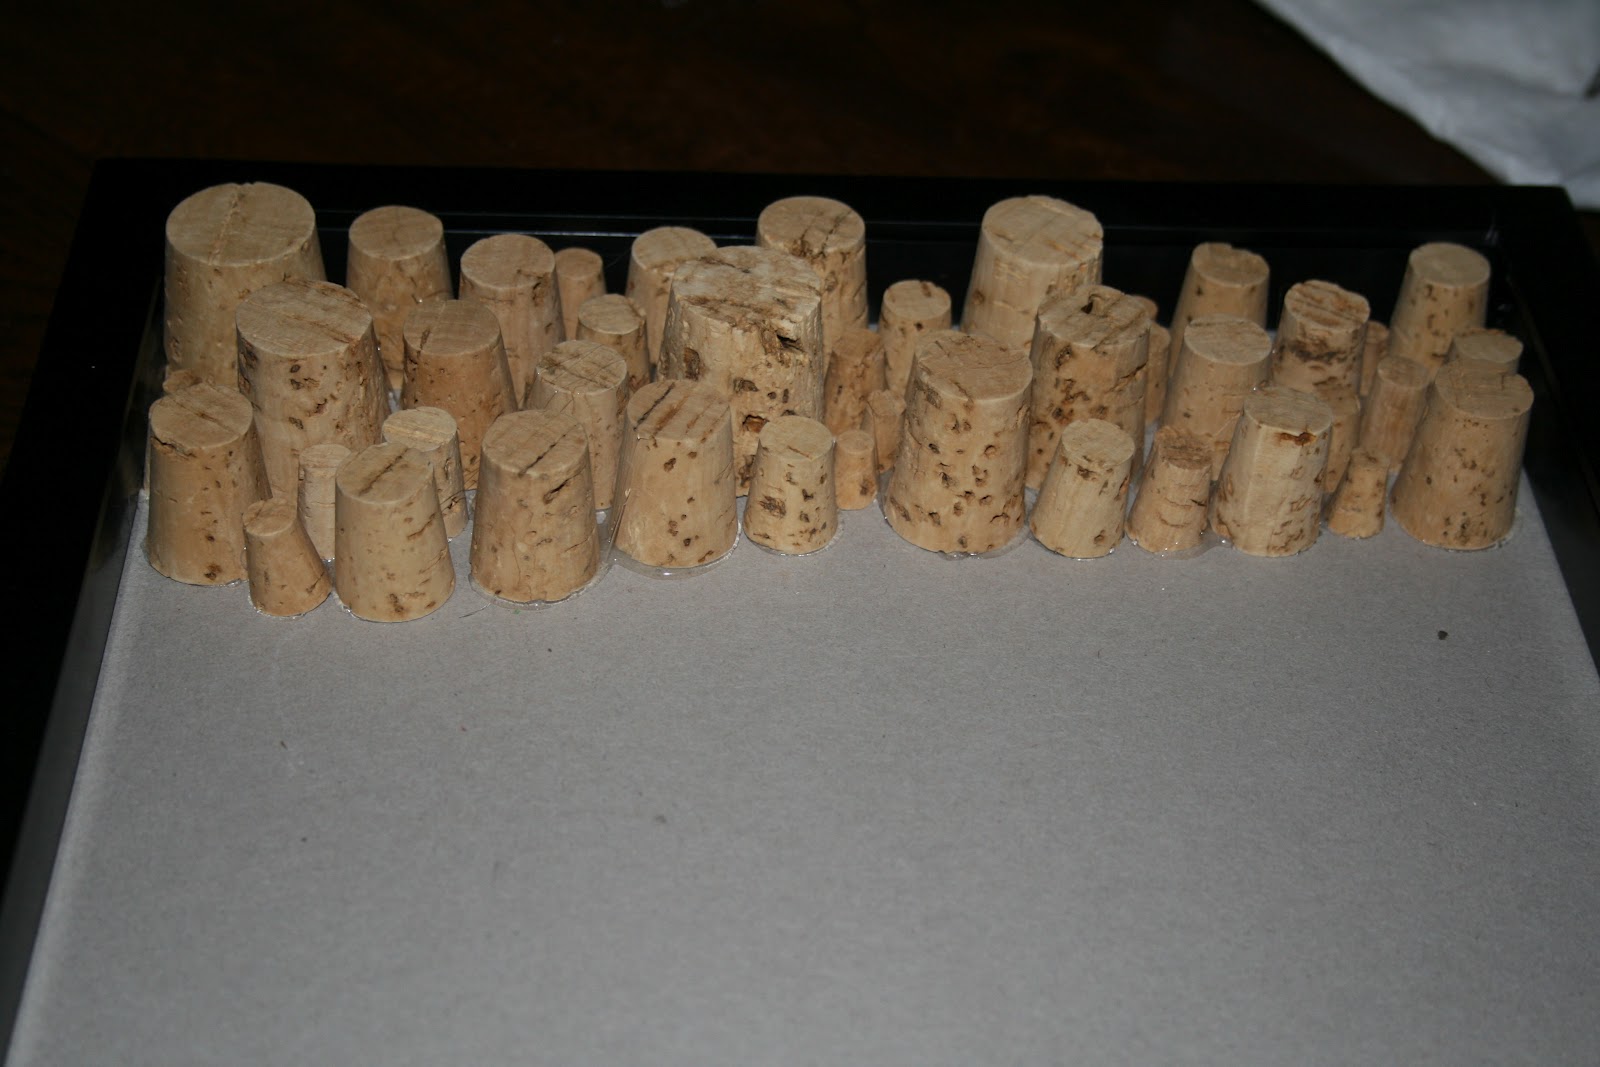
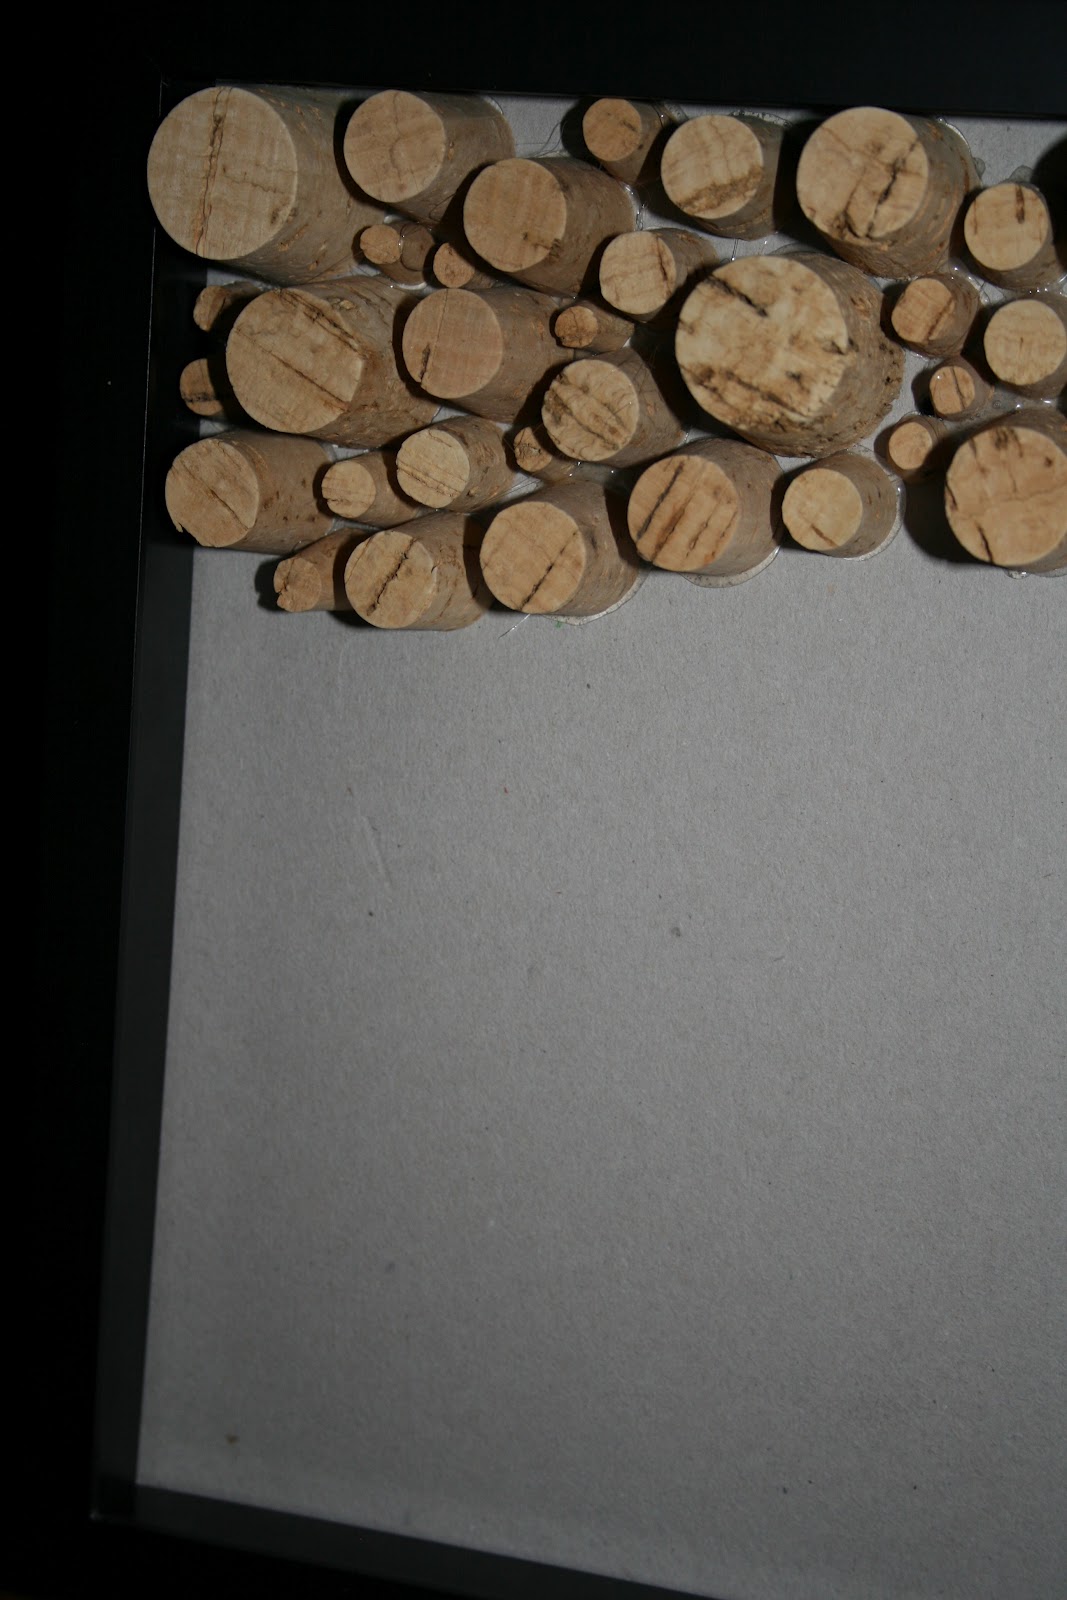
*Note- don't use all of your little ones right away; ration them.  You'll find that as you complete more of the board you'll want more little corks!  Also keep in mind that even though you only have a few very large corks you'll want to separate them evenly among the board so that you're eye isn't drawn to one particular section.
As you can see, there are blank spaces in between the corks.  From far away you can't tell that those exist but obviously up close you can.  I'm thinking about adding glitter in between the corks or something along those lines but you can do whatever you want!
     Technically this shadow box has the ability to hang on the wall but I personally think it will serve a greater purpose resting upright on my desk!

Tuesday, September 4, 2012

DIY Numbered Coasters

      These are a fun way to keep track of whose drink is whose.  They also look cute and are super easy.  
Finished product:

 
WHAT YOU'LL NEED:


1. Coasters.  I got mine at Jo-Ann in one of the many craft isles.

2. Paint.  I used normal paint which probably wasn't so smart.  I would suggest (if you're doing the numbers in white) you use white primer.

3. A Sharpie.  The standard size tip would work the best.

4. A number scheme.  Pick a number scheme that has the numbers you want.  Don't try to guess how a number in the scheme would look.  It will turn out bad.


STEP I 
Pick out the numbers that you want and size them on the computer to the size you want them to be on your coasters and print them.  This is what I chose:
 STEP II 
You don't have to cut the numbers out exactly but separate them so that they are individual.

STEP III 
Position the number on your coaster and with the Sharpie trace the outside lines. Make sure you're pressing hard enough for the Sharpie to transfer from your paper to the actual coaster; these lines will be your guide lines for painting. I personally pressed just hard enough so that there were occasional dots guiding me because I was nervous that the Sharpie would show through the paint.

STEP IV 
Using the lines or dots from the Sharpie as guides fill in the number with paint. I did a couple of coats.

I realize that the lines aren't perfect but honestly, it's no big deal.  Nothing is perfect when you DIY :)


Sunday, August 26, 2012

DIY Decorative Letters

(I am not doing a step by step for this project because it's pretty self- explanatory. Ask me for specific questions.)  
WHAT YOU'LL NEED:

1. Popsicle sticks.  I used jumbo popsicle sticks for this project.

2. Ribbon.  Any type will work.  I used two types of ribbon, one that was satin and one that was sheer.

3. Hot Glue.  I just find that the bond is better than normal glue.

4. Buttons.  I went to my local Jo-Ann and picked up the Fabric World Button Bargain for Crafts 10 oz. box of buttons.  I had two packs to work with because I wanted uniform colors.


Here are the projects that my good friend, Allie Logan, and I did today.  I chose the classic "LOVE" and Allie chose to do her name (and didn't use any ribbon for those who don't like that look).  Very cute!!     


Thursday, August 16, 2012

DIY Decorative Vases

WHAT YOU'LL NEED:
1. Vases.  I chose to do three of different styles, but how many you do and how they look is completely up to you.

2. Paint.  You HAVE to make sure that the paint you choose is for glass.  The paint I chose was for multi- surfaces, but that makes no difference as long as paint is on the list.  I used Martha Stewart Multi- Surface Satin Acrylic Craft Paint in the color Surf which I picked up at my local Jo-Ann.  (I got a tip from someone after I'd completed the project that using a surface conditioner may have helped bond the paint to the glass meaning less coats.)

3. Paintbrushes.  You want to make sure they're fairly large so that it'll be easier to paint the vases.


  STEP I
Clean the vases out.  Dirt will cause problems when you're painting.

 STEP II
Start painting!  The first couple of coats will look tragically terrible so don't get discouraged!  Just keep trucking on!  With the vases that had curves, I painted them in stages.  Letting them dry to do another coat is annoying but it's the only way to do it so be patient.


  STEP III
How many coats of paint you apply will  be different for everyone.  You just want the paint to look as even as possible and for there to be no holes where the glass still shines through.
And you're done!

NOTE:  These vases are strictly for decorative purposes only!!!!!!!!!

Wednesday, August 8, 2012

DIY Dry Erase Calendar


WHAT YOU'LL NEED:
1. Picture frame.  This frame is very lightweight because I'll be hanging it without nails in my dorm.  Keep in mind that this will act as your calendar so the largeness of the frame will depend on how many activities you'll be keeping track of each month.

2. Burlap.  I chose a tightly woven burlap and got enough so that I could double it behind the glass but the how you want it to look is up to you.

3. A long ruler.  You'll use this to make your calendar grid.

4. Strong tape, a Sharpie, and scissors.


  STEP I 
Cut your burlap so that it will fit into your frame. Also choose if you want your calendar to be vertical or horizontal (if your frame is rectangular).
  STEP II 
Tape the burlap down on a flat surface so that it is easier to make the grid. Try to pull it tight when taping it.
  STEP III (pencil optional)
I started this in pencil because I know that I'm prone to messing up but if you're confident enough in your grid abilities go ahead and just do it in Sharpie!
Measure out your grid. You'll need seven boxes across and five down and obviously they should be evenly sized. I left about an inch on either side and the bottom so that it wouldn't be completely hitting the frame and a little more on the top so that I could have room to write the month or various notes.
  STEP IV 
If you skipped the pencil and went straight to Sharpie, disregard this step.
Using the ruler again, create your calendar outline in Sharpie. I just used a regular Sharpie for the outline but a thin one could look really nice, also.
STEP V 
From here it's really up to you. I personally didn't write the days on the burlap only because I was afraid my writing wouldn't look nice enough. You can also make a Sharpie box on the top for the month or do whatever else you think would look nice.
Put it in the frame and voila! You've got yourself a cute calendar!